Table of Contents
Apart from the fact that Amazon is the biggest online marketplace for physical goods, you’d be glad to know that they allow allows you to buy and download MP3 songs directly to your computer.
This gives you the freedom to take your music with you anywhere you go and even, give it to friends and family for them to enjoy.
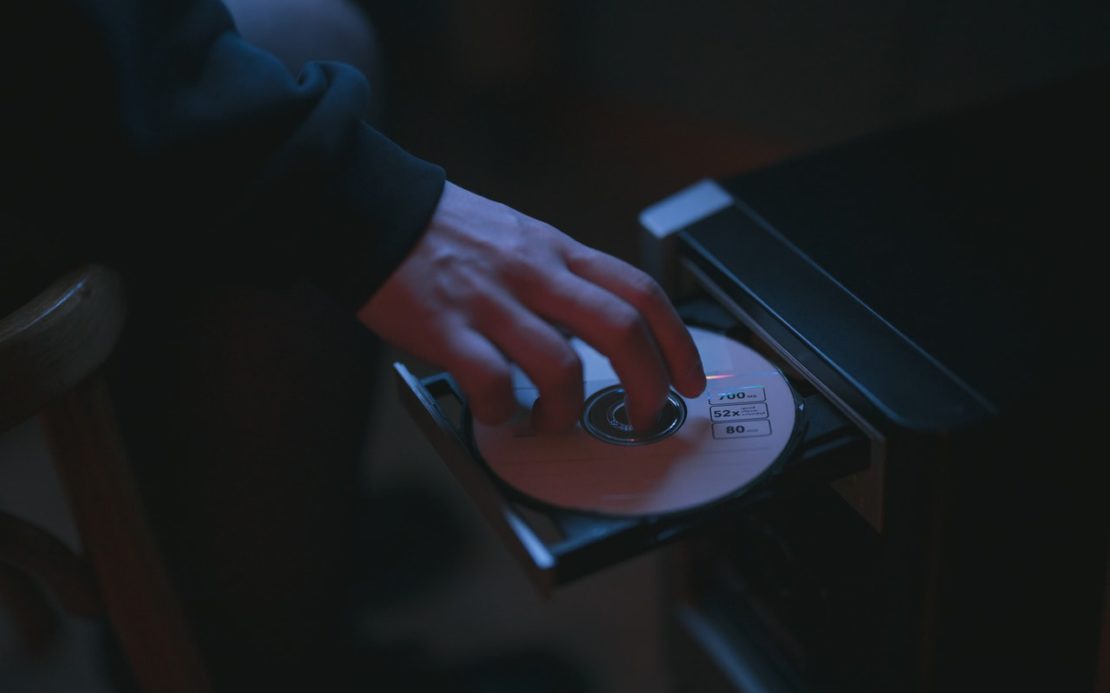
However, we understand it can be incredibly difficult to burn these songs onto a blank CD.
Quick Summary
This post will go over how you can buy, download and burn Amazon Music onto a CD in the simplest way possible along with some tips and tricks that you can employ.
So, let’s dive right into it.
Burning Songs onto a CD from Amazon Music – Step-by-Step Guide
In today’s digital age, streaming music has become the norm with the rise of giants such as Apple Music, Amazon Prime Music, and Spotify.
Amazon Prime Music is unique among these because they offer two different types of services.
The first is a traditional music streaming service similar to Spotify while the second is an online music store.
Not only can you listen to millions of songs using Amazon Prime Music but you can also purchase your favorite albums and songs to listen to on the go.
CDs can be a great option for holding onto your favorite music.
So, how do you fill up a CD? Follow the simple steps given below:
Downloading Songs from Amazon Music
Amazon’s online music store is a host to millions of songs and albums that you can purchase and subsequently download to your computer.
The best part about this music is the fact that it’s DRM-free and encoded in high-quality 256-kbps MP3 format.
This not only makes them pleasurable to listen to but the fact that they’re DRM-free means that you can easily burn them onto a CD.
Hence, in order to download songs from Amazon’s online music store, all you have to do is purchase the songs (and/or albums) you like and then download them to your computer.
The problem arises with Amazon Prime Music and Amazon Music Unlimited. With these services, the songs are not DRM-free (Digital Rights Management).
This prevents you from making unauthorized copies of the purchased songs and thus, prevents you from burning Amazon Prime Music and Music Unlimited songs onto a blank CD.
Luckily, it’s not impossible to crack DRM protection from Amazon as you can easily do this using Tunelf Amatune Music Converter.
It’s an easy-to-use music converter that enables you to download and convert songs from Amazon Prime Music and Amazon Music Unlimited into several popular audio formats including MP3.
To download and convert songs from Amazon Prime Music and Amazon Music Unlimited through Tunelf Amatune Music Converter, follow these steps:
Step 1: Launch Tunelf Amatune Music Converter and sign in using your Amazon account.
Step 2: Click on the menu bar and then select Preferences. From here, you can set the output parameters which refer to the audio format and other properties of the songs you’ll download.
In the Advanced window, you can choose between six different audio formats namely, MP3, AAC, FLAC, WAV, M4A, and M4B. You can also change the bit rate, sample rate, and channel if you want to but we recommend that you leave those parameters untouched and choose MP3 as your audio format.
Step 2: Once you close the Settings window, you’ll be presented with all of the songs and albums that you’ve purchased using Amazon Prime Music as well as the songs available to you through Amazon Music Unlimited.
Navigate to the album or playlist you wish to download and select it. The Music Converter will list all of the songs present within that album or playlist. Select the songs you want to download and convert by clicking the check box next to the respective song(s).
Step 3: Click on the Convert button and Tunelf Amatune Music Converter will download and convert the songs you selected into its default folder. By default, this folder is located within the Documents folder in your C:/ drive. If you wish to change this, you can do so in the preferences window in Step 1.
Burning Songs from Amazon Music onto a Blank CD – 3 Ways
So you’ve successfully downloaded songs and albums off of Amazon Music and are ready to create your music CD.
Here’s how you go about it:
Method 1: Burn Amazon Music onto an Audio CD using Windows Media Player
Windows Media Player is the most basic tool to create your music CD. It’s highly accessible since it comes pre-installed on every Windows PC.
Step 1: Insert a blank CD into your disc drive on your computer.
Step 2: Open Windows Media Player by searching for it in the search bar in the taskbar as shown:
Step 3: Navigate to the folder where your songs from Amazon Prime Music or Music Unlimited have been downloaded.
Step 4: Navigate to the Burn tab within Windows Media Player as shown:
Step 5: Select the songs you want to burn onto your audio cd and drag-and-drop them into the Burn List on the right side of the Windows Media Player window.
Step 6: Once you have all of the songs compiled from Amazon Music compiled within the Burn List, click on Start Burn.
Method 2: Burn Amazon Music onto an Audio CD using iTunes
If you’re using Mac OS, you won’t have Windows Media Player to burn a CD from Amazon Music. However, what you will have is iTunes.
Step 1: Insert a blank CD into your disc drive on your Mac computer or laptop.
Step 2: Open iTunes on your Mac computer or laptop.
Step 3: Navigate to the folder where you’ve downloaded the songs and/or albums from Amazon Music.
Step 4: Select all the songs you want to burn onto a CD and drag-and-drop them into iTunes.
Step 5: Within iTunes, click on the File menu at the top and then click on Burn Playlist to CD as shown:
Step 6: Choose the Audio CD option and then click on Burn. iTunes will start to burn songs from your Amazon Music folder onto your CD.
Method 3: Burn Amazon Music onto an Audio CD using VLC Media Player
Not only is VLC Media Player a powerful media player but it can be used to burn music and create audio CDs as well.
Here’s how:
Step 1: Insert a blank CD into the disc drive on your computer.
Step 2: Open up VLC Media Player by searching for it in the search bar in the taskbar below as shown:
Step 3: Create a playlist of the songs from Amazon Music that you want to burn onto a CD. You can do this by going to View, then clicking on Playlist. However, you can also simply press Ctrl + L as shown:
Step 4: Navigate to the folder where you’ve downloaded the songs and/or albums from Amazon Music.
Step 5: Select all the songs you want to burn onto a CD by dragging and dropping them into VLC Media Player’s playlist dock section.
Step 6: Once you have added all of the Amazon Music songs you want to burn, click on Media and then on Convert/Save or simply press Ctrl + R as shown:
Step 7: In the dialogue box that will open up, go to the Disc tab and then select Audio CD as shown:
Step 8: Click on Browse and then select the CD you’ve inserted into your disc drive.
Step 9: Click on the Convert/Save button and VLC Media Player will start to burn your Amazon Music onto the CD.
Wrapping Things Up…
Downloading and burning songs onto CDs from Amazon Prime Music and Music Unlimited may seem complex but it’s really not as we’ve shown you above.
As long as you follow the steps we’ve described above, you’ll have CDs with your favorite music on them in no time.
How do you burn CDs with songs from Amazon Music? Let us know in the comments below.


